

Microsoft Azure : Setting Up an Azure SQL Database step by step
SQL Azure Setup


Azure SQL Database is a cloud-based relational database service that provides a scalable and secure platform for storing and managing data. In this article, we will discuss how to set up an Azure SQL database from Microsoft Azure step by step.
Step 1: Create an Azure Account
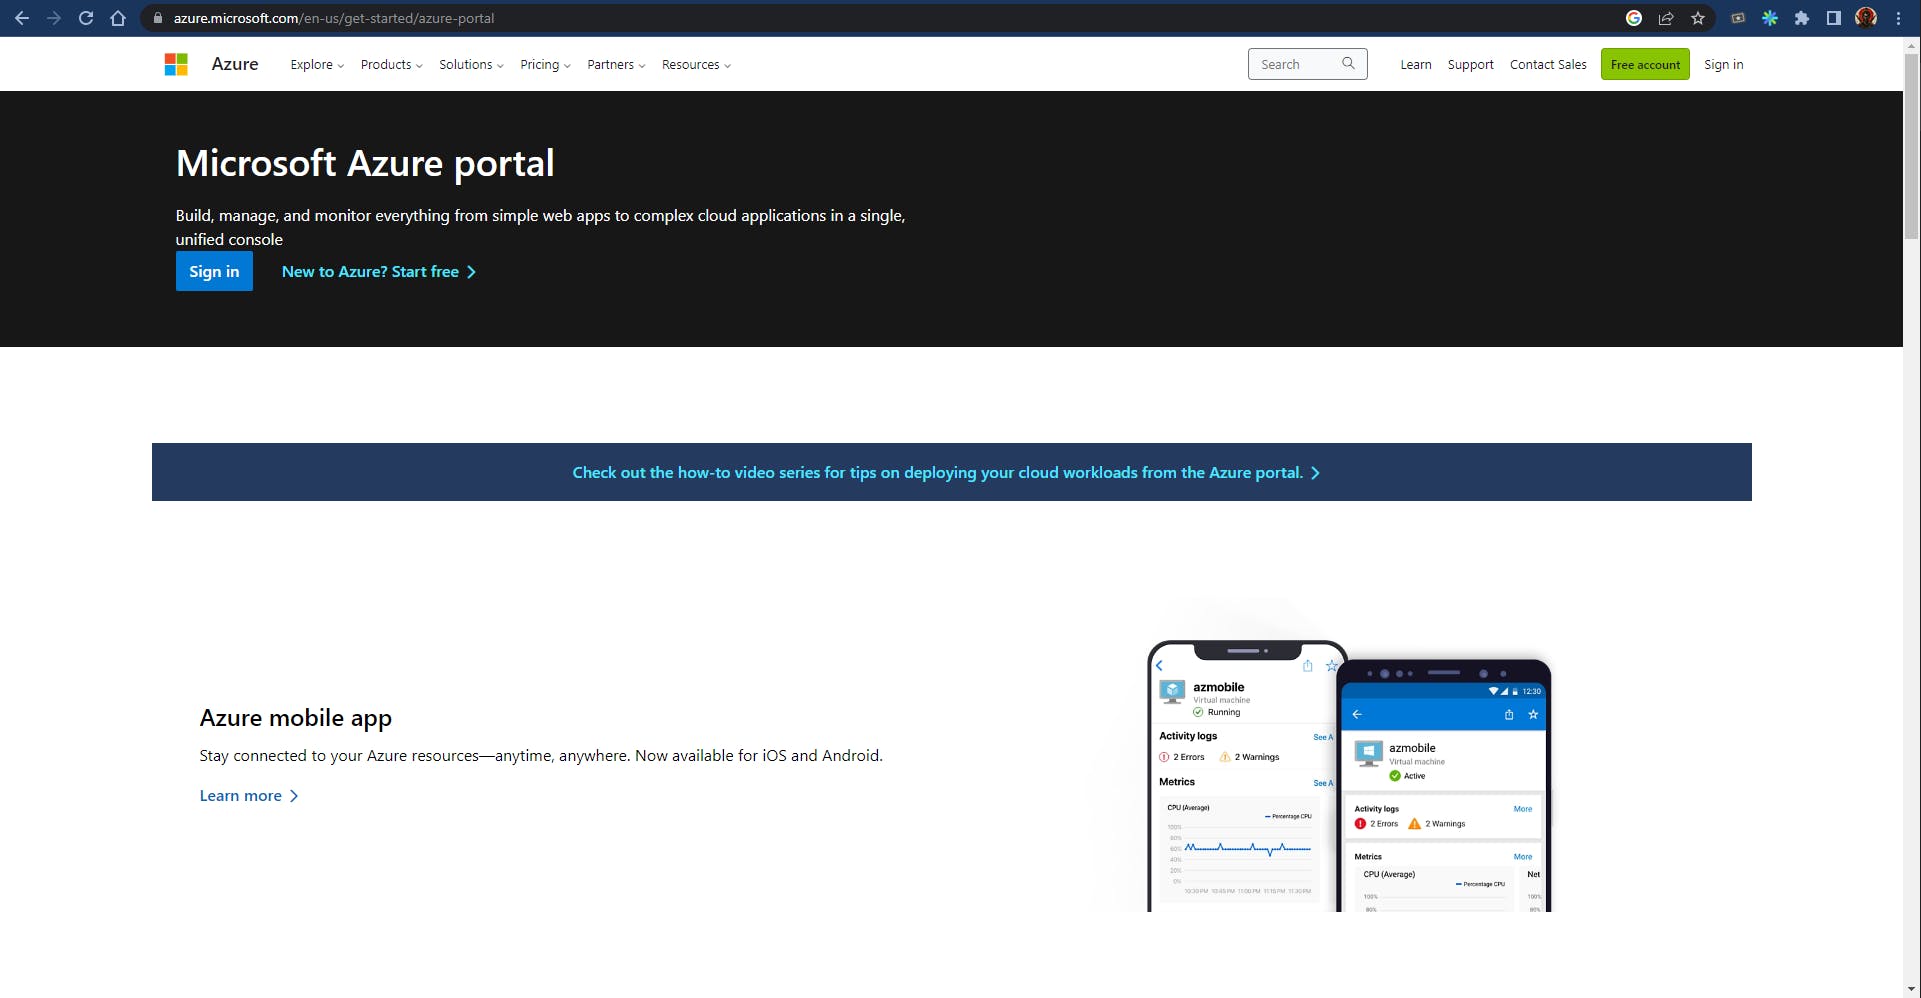
The first step is to create an Azure account. You can do this by visiting the Azure website and signing up for a free trial. Once you have created an account, you can log in to the Azure portal.
After creating your Azure account, you can now choose either a free account with 200 USD of credit that Microsoft offers to test your solution or directly subscribe to a paid subscription.

Step 2: Create a Resource Group
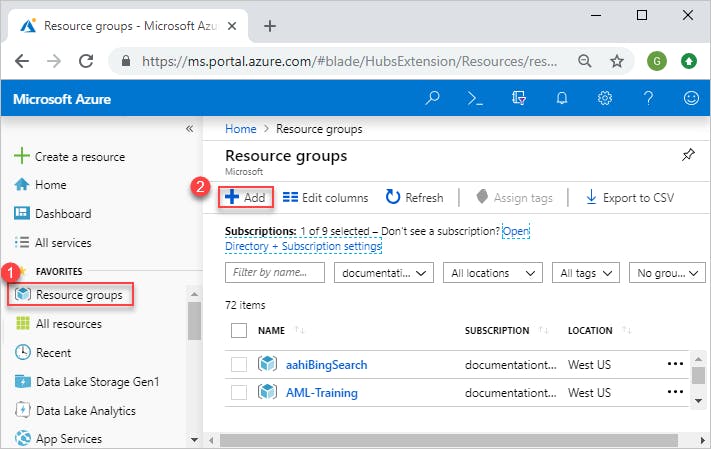
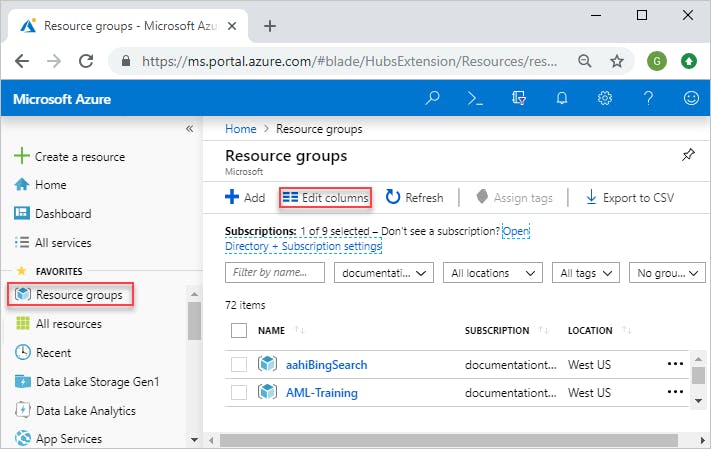
The next step is to create a resource group. A resource group is a logical container for resources that are deployed to Azure. To create a resource group, click on the "Resource groups" option in the Azure portal and then click on the "Add" button. You will need to provide a name for the resource group and select a region.


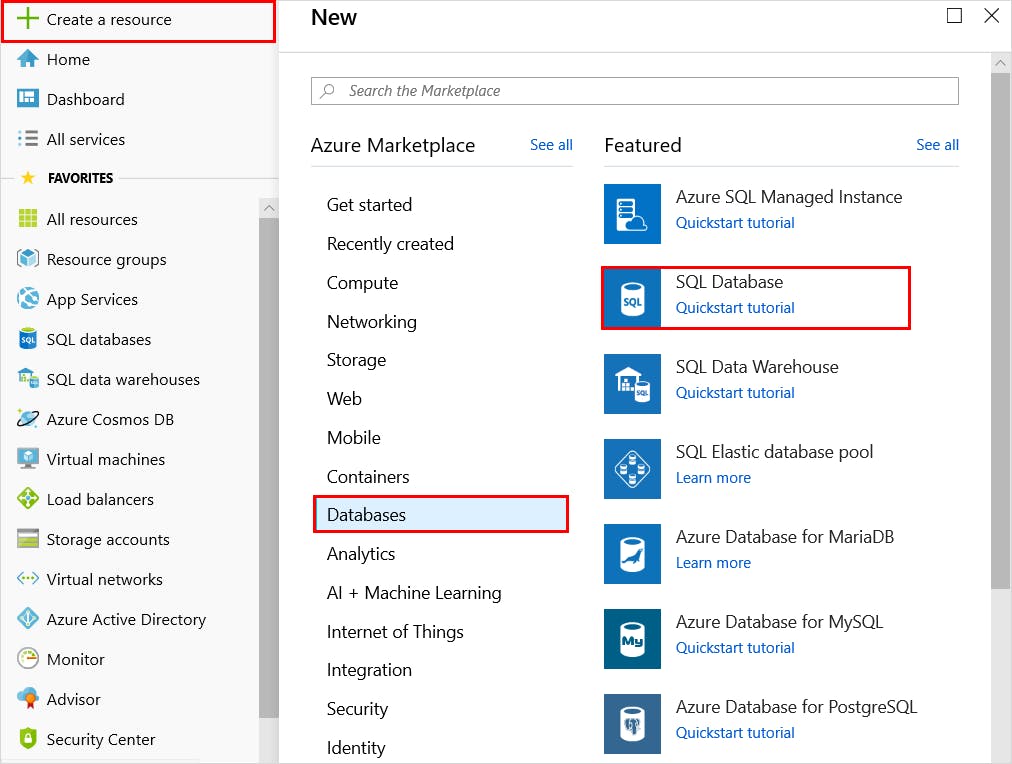
Step 3: Create an Azure SQL Database
Once you have created a resource group, you can create an Azure SQL database. To do this, click on the "SQL databases" option in the Azure portal and then click on the "Add" button. You will need to provide a name for the database, select a pricing tier, and configure the server settings.
Step 4: Configure the Server Settings
When you create an Azure SQL database, you also need to configure the server settings. You will need to provide a name for the server, select a region, and configure the server admin login and password. You can also configure the firewall settings to control access to the database.
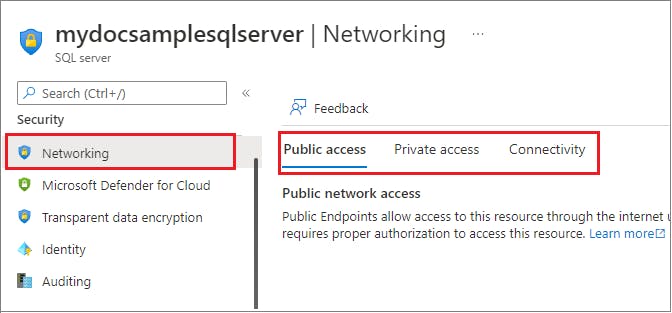
To enable public network access for the logical server hosting your databases, go to the Networking page in the Azure portal, choose the Public access tab, and then set the Public network access to Select networks.
From this page, you can add a virtual network rule, as well as configure firewall rules for your public endpoint.
Choose the Private Access tab to configure a private endpoint.
Step 5: Connect to the Azure SQL Database
Once you have created an Azure SQL database, you can connect to it using a variety of tools. One option is to use SQL Server Management Studio (SSMS). To connect to the database using SSMS, you will need to provide the server name, login, and password.
Another option is to use the Azure portal. To connect to the database using the Azure portal, click on the "SQL databases" option and then click on the name of the database. You can then click on the "Query editor" option to open a web-based SQL editor.
Step 6: Manage the Azure SQL Database
Once you have connected to the Azure SQL database, you can manage it using a variety of tools. You can create tables, views, and stored procedures using SQL queries. You can also use the Azure portal to monitor the performance of the database and configure backups and disaster recovery options.
Conclusion
In this article, we have discussed how to set up an Azure SQL database from Microsoft Azure step by step. By following these steps, you can create a scalable and secure platform for storing and managing data in the cloud. With Azure SQL Database, you can build powerful applications that can help you achieve your business goals.